Christi and I started our plans for the Lenten Cross thinking that we would use some pallet boards that we had in the garage. They are thin, rustic and about 5″ across.
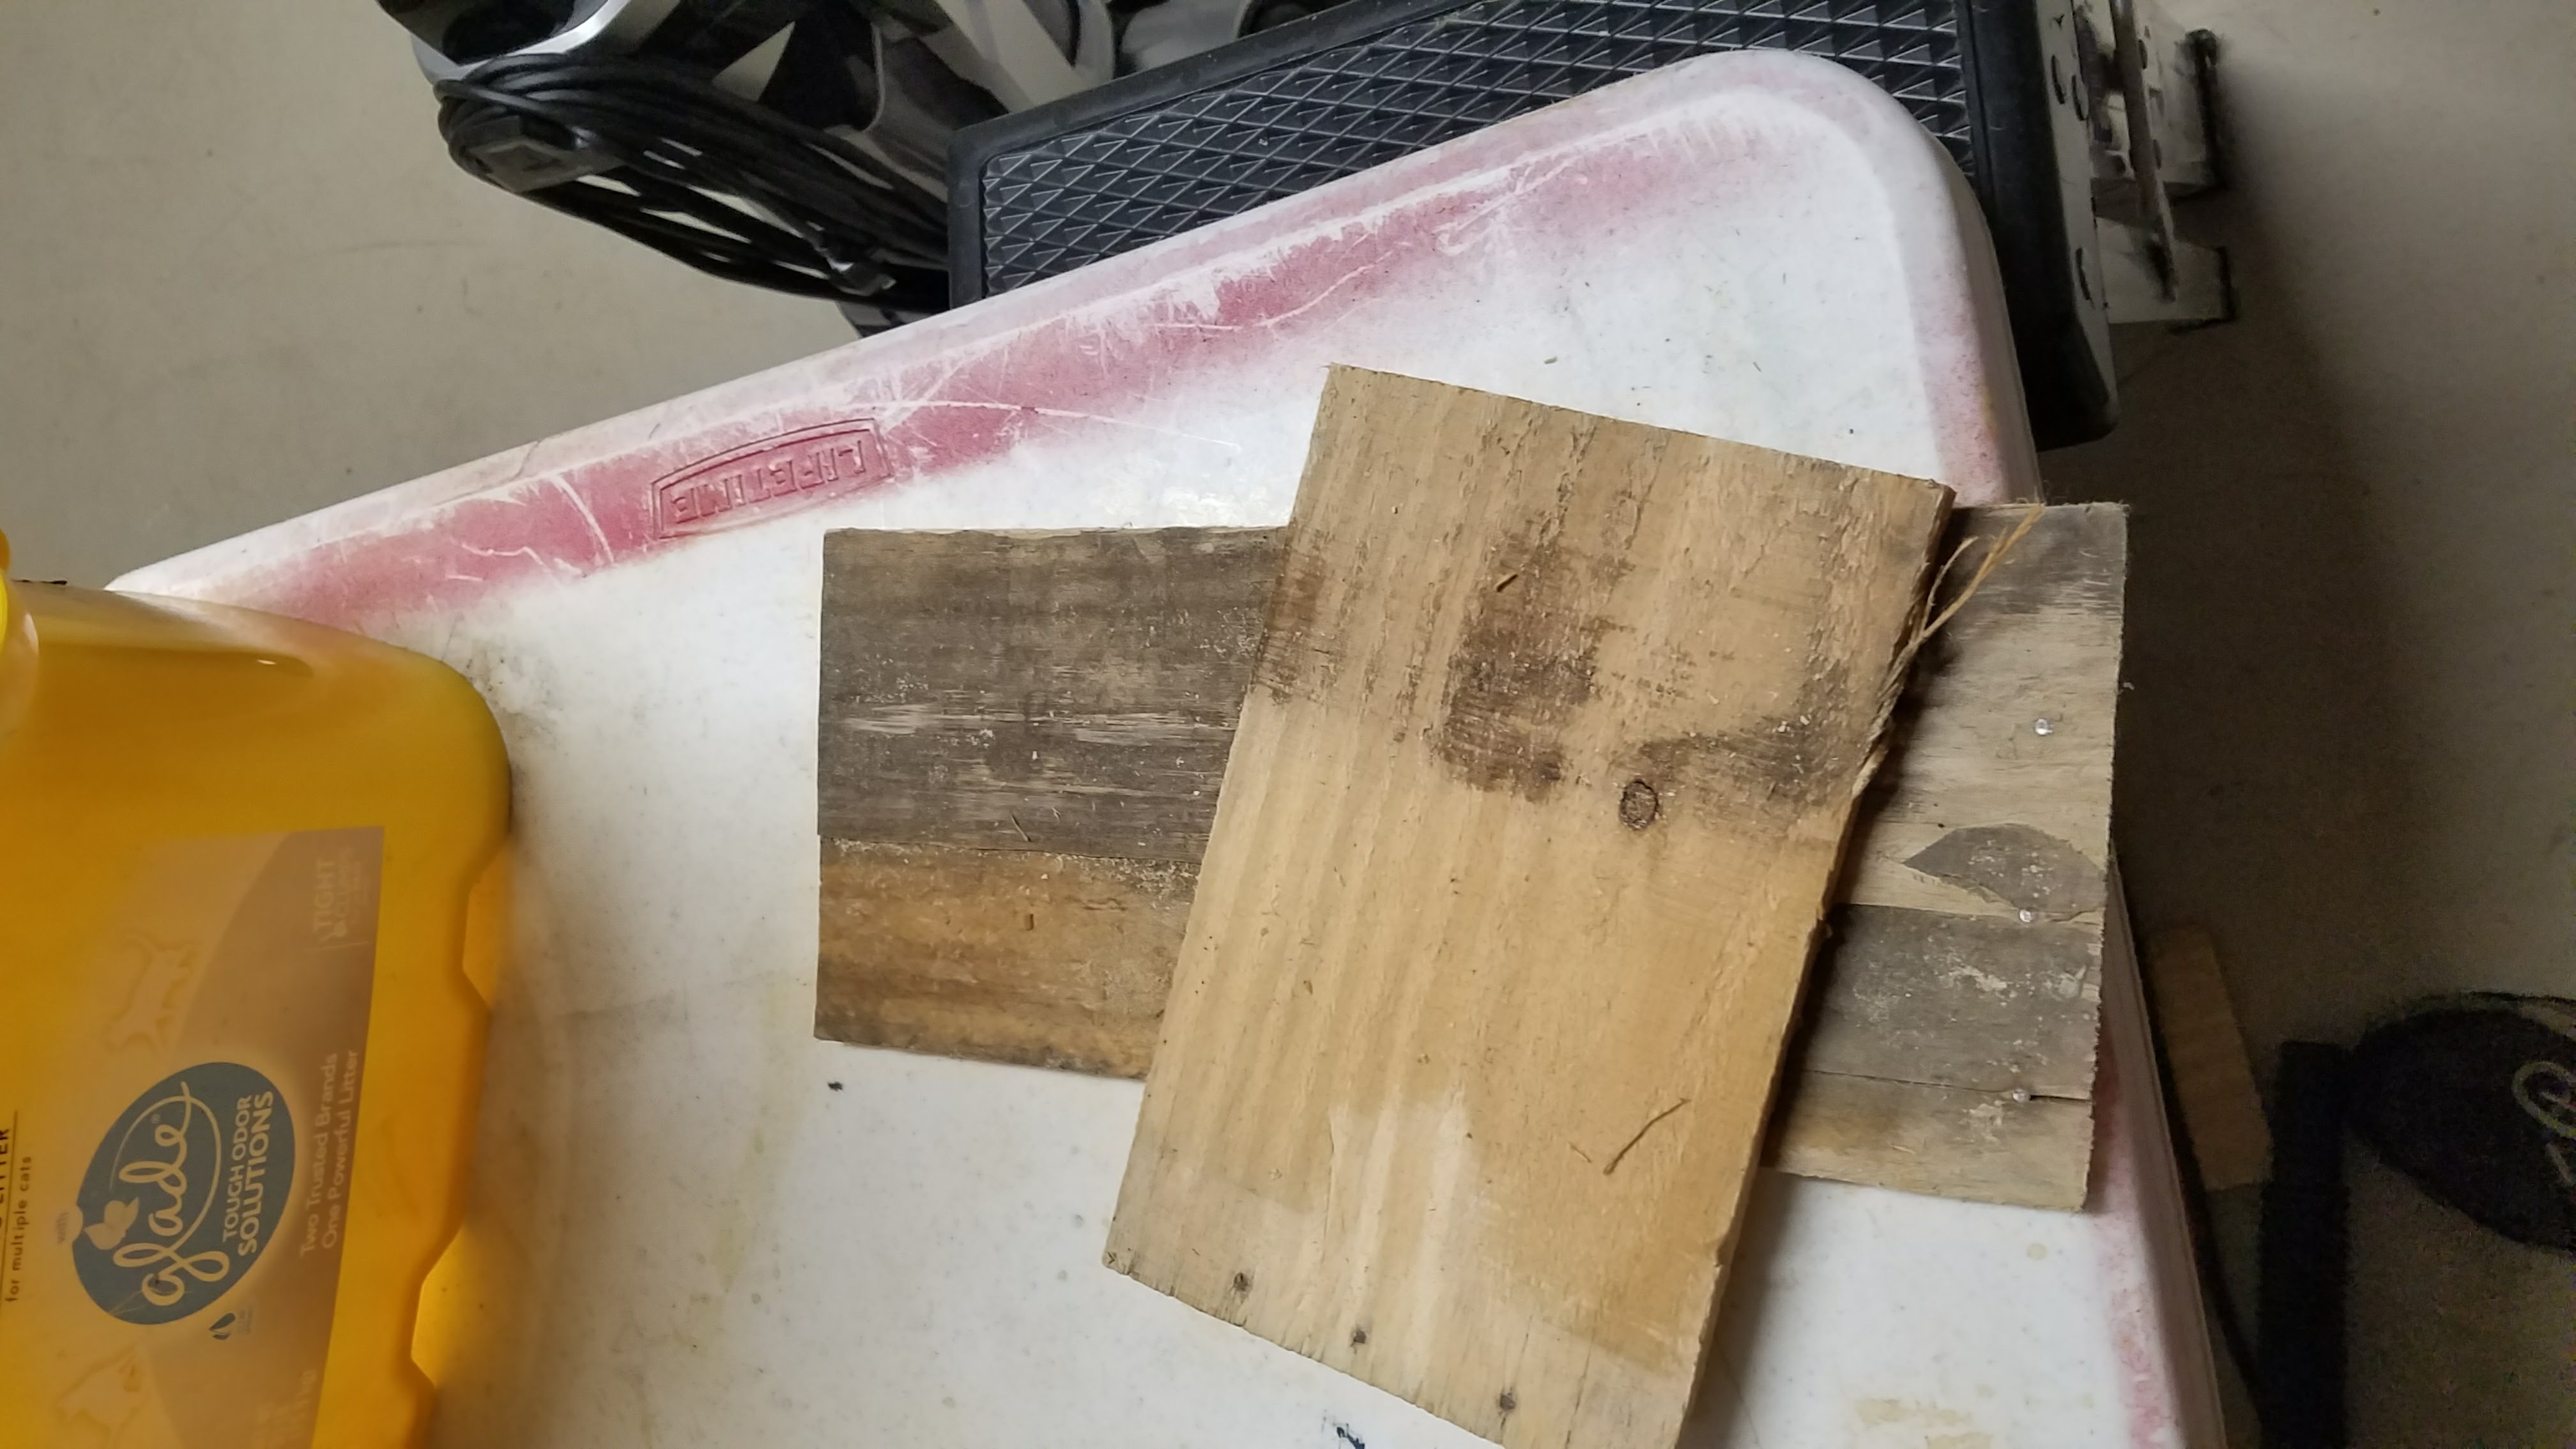
Pallet boards
I knew we would have to do layers to get enough thickness. After looking at the boards, I decided they were too brittle and twisted; we wouldn’t be able to get them into a solid sandwich.
A visit to Lowe’s ensued. My original thought here was to use untreated fence boards. Alas, all they had were treated ones. I knew these would not take stain in a way that would achieve the rugged look we wanted. As I was wandering around, I found a 2x6x8 rough sawn cedar board. Perfect!
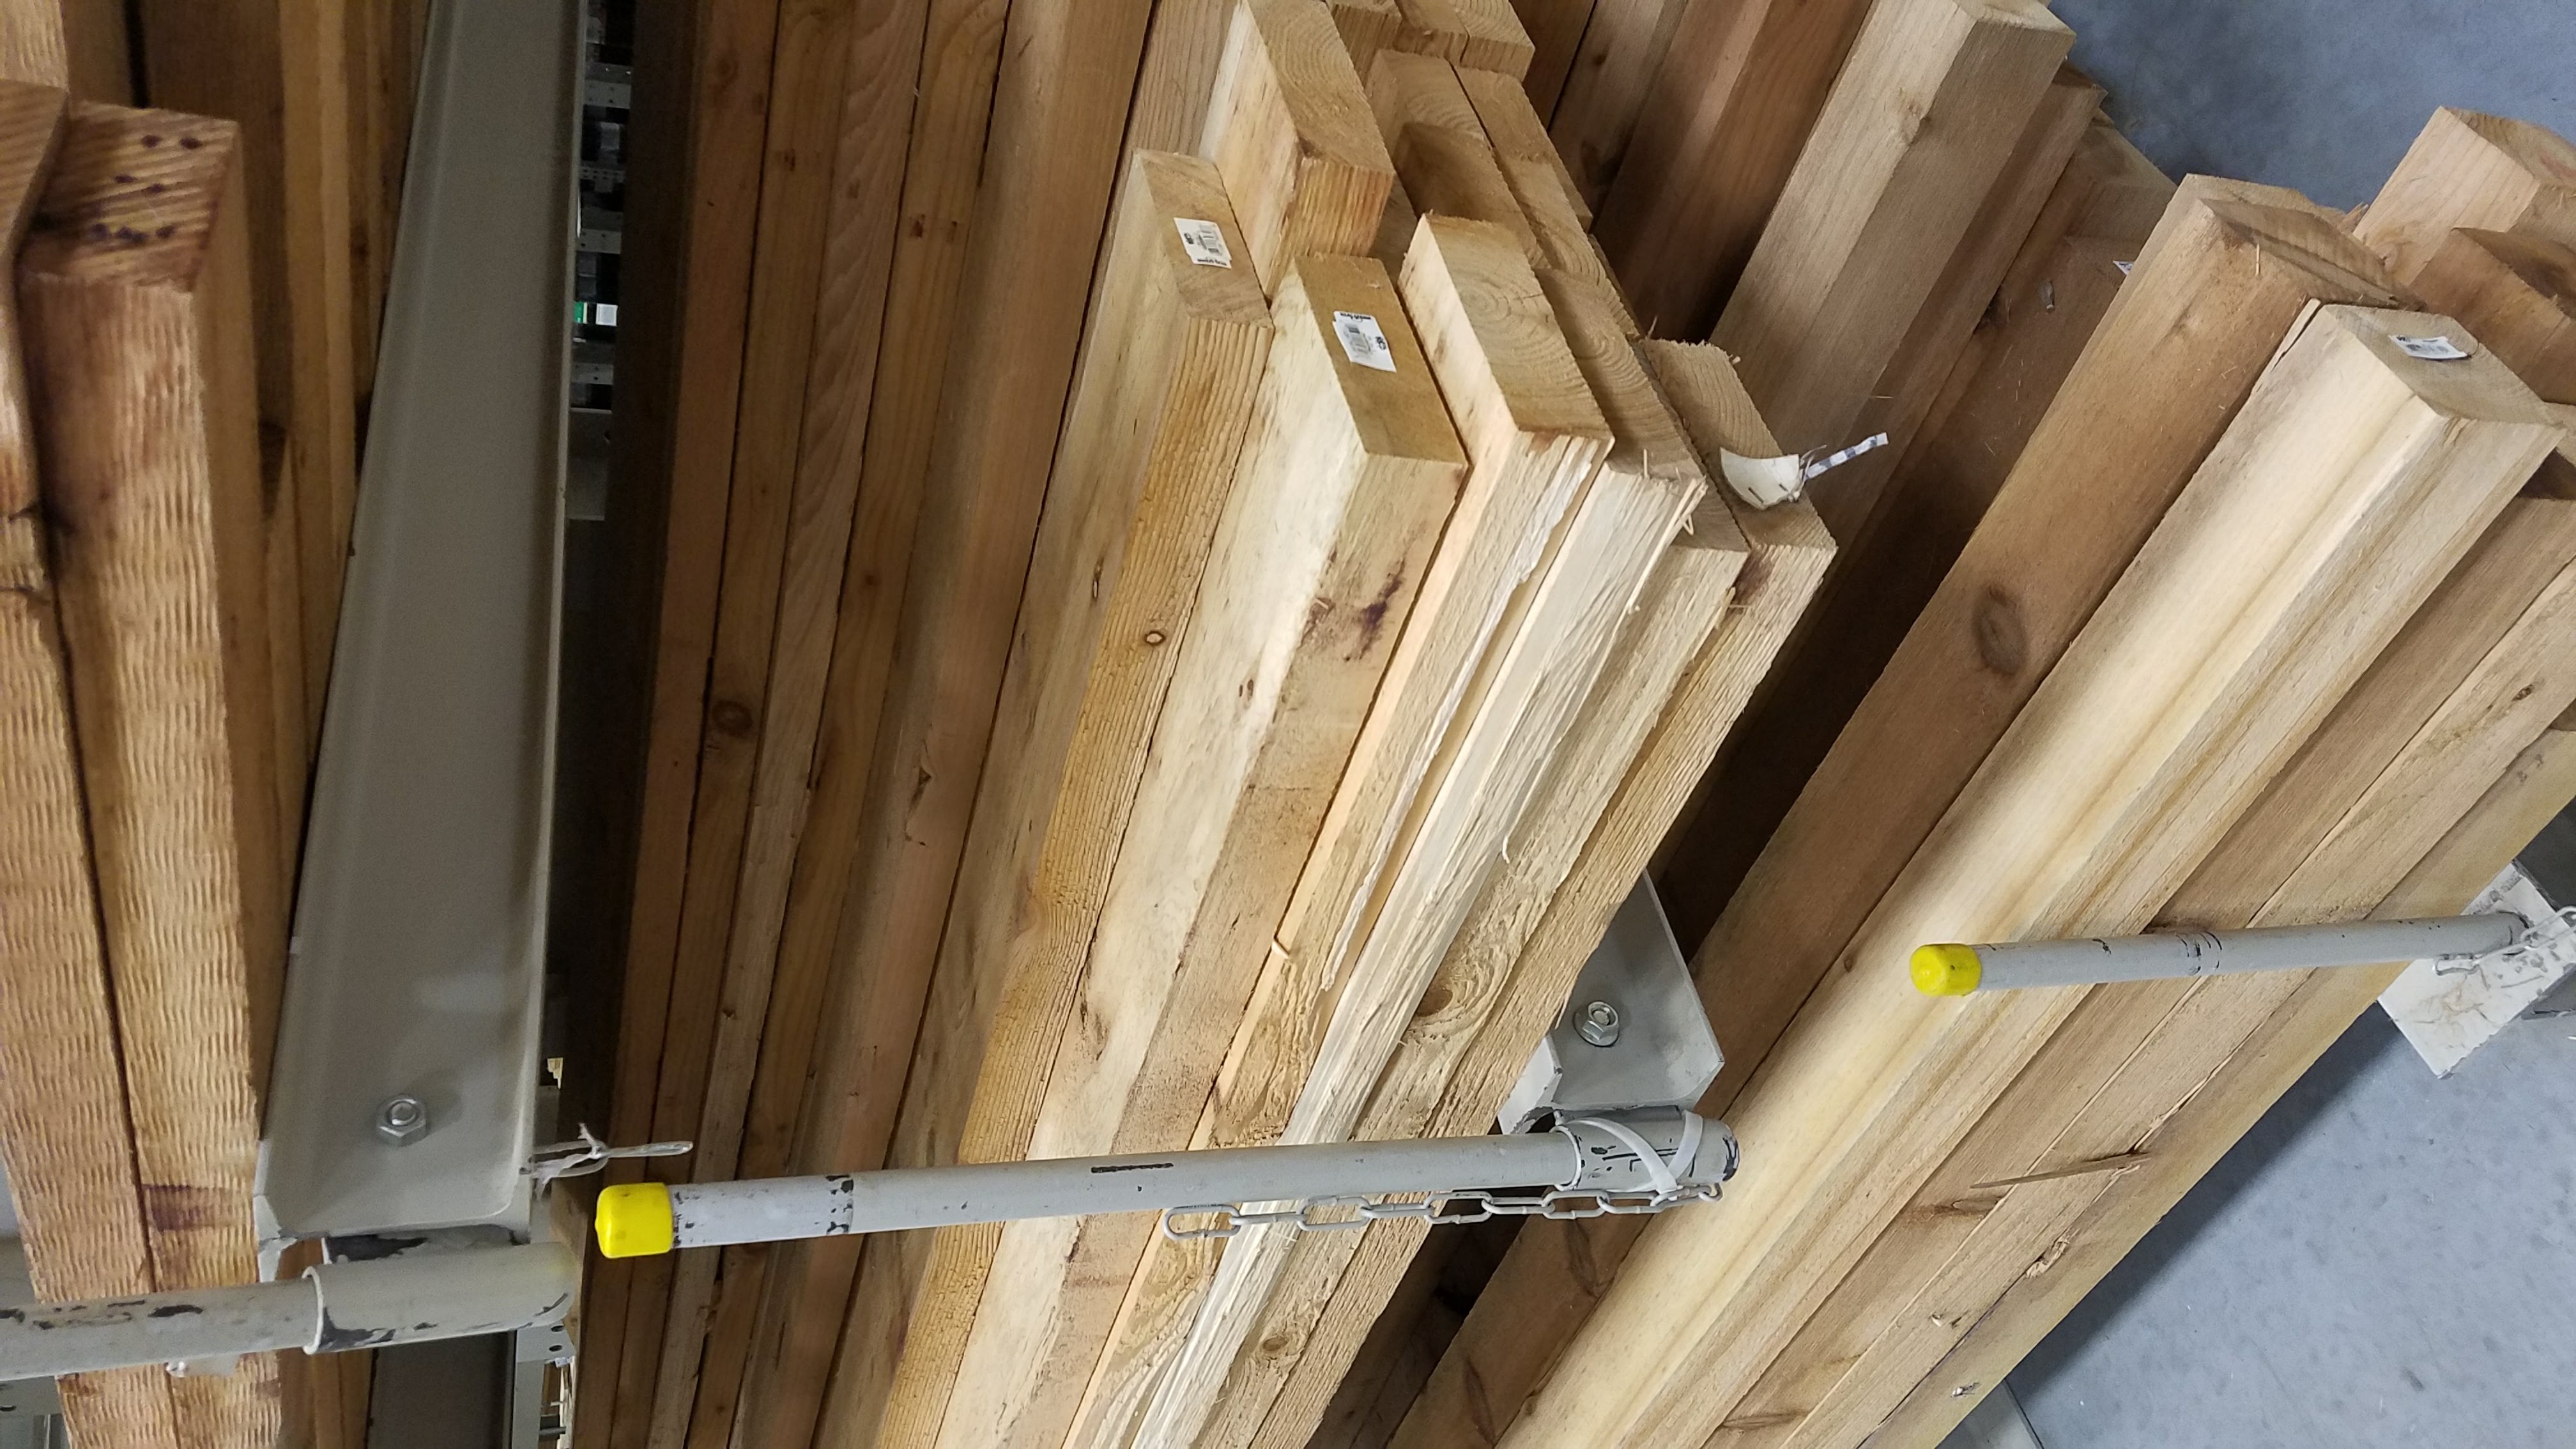
The cedar board was a solid 2”x5 1/2” which didn’t look quite right with our original plan.
Since I had plenty we made a first try on the following plan
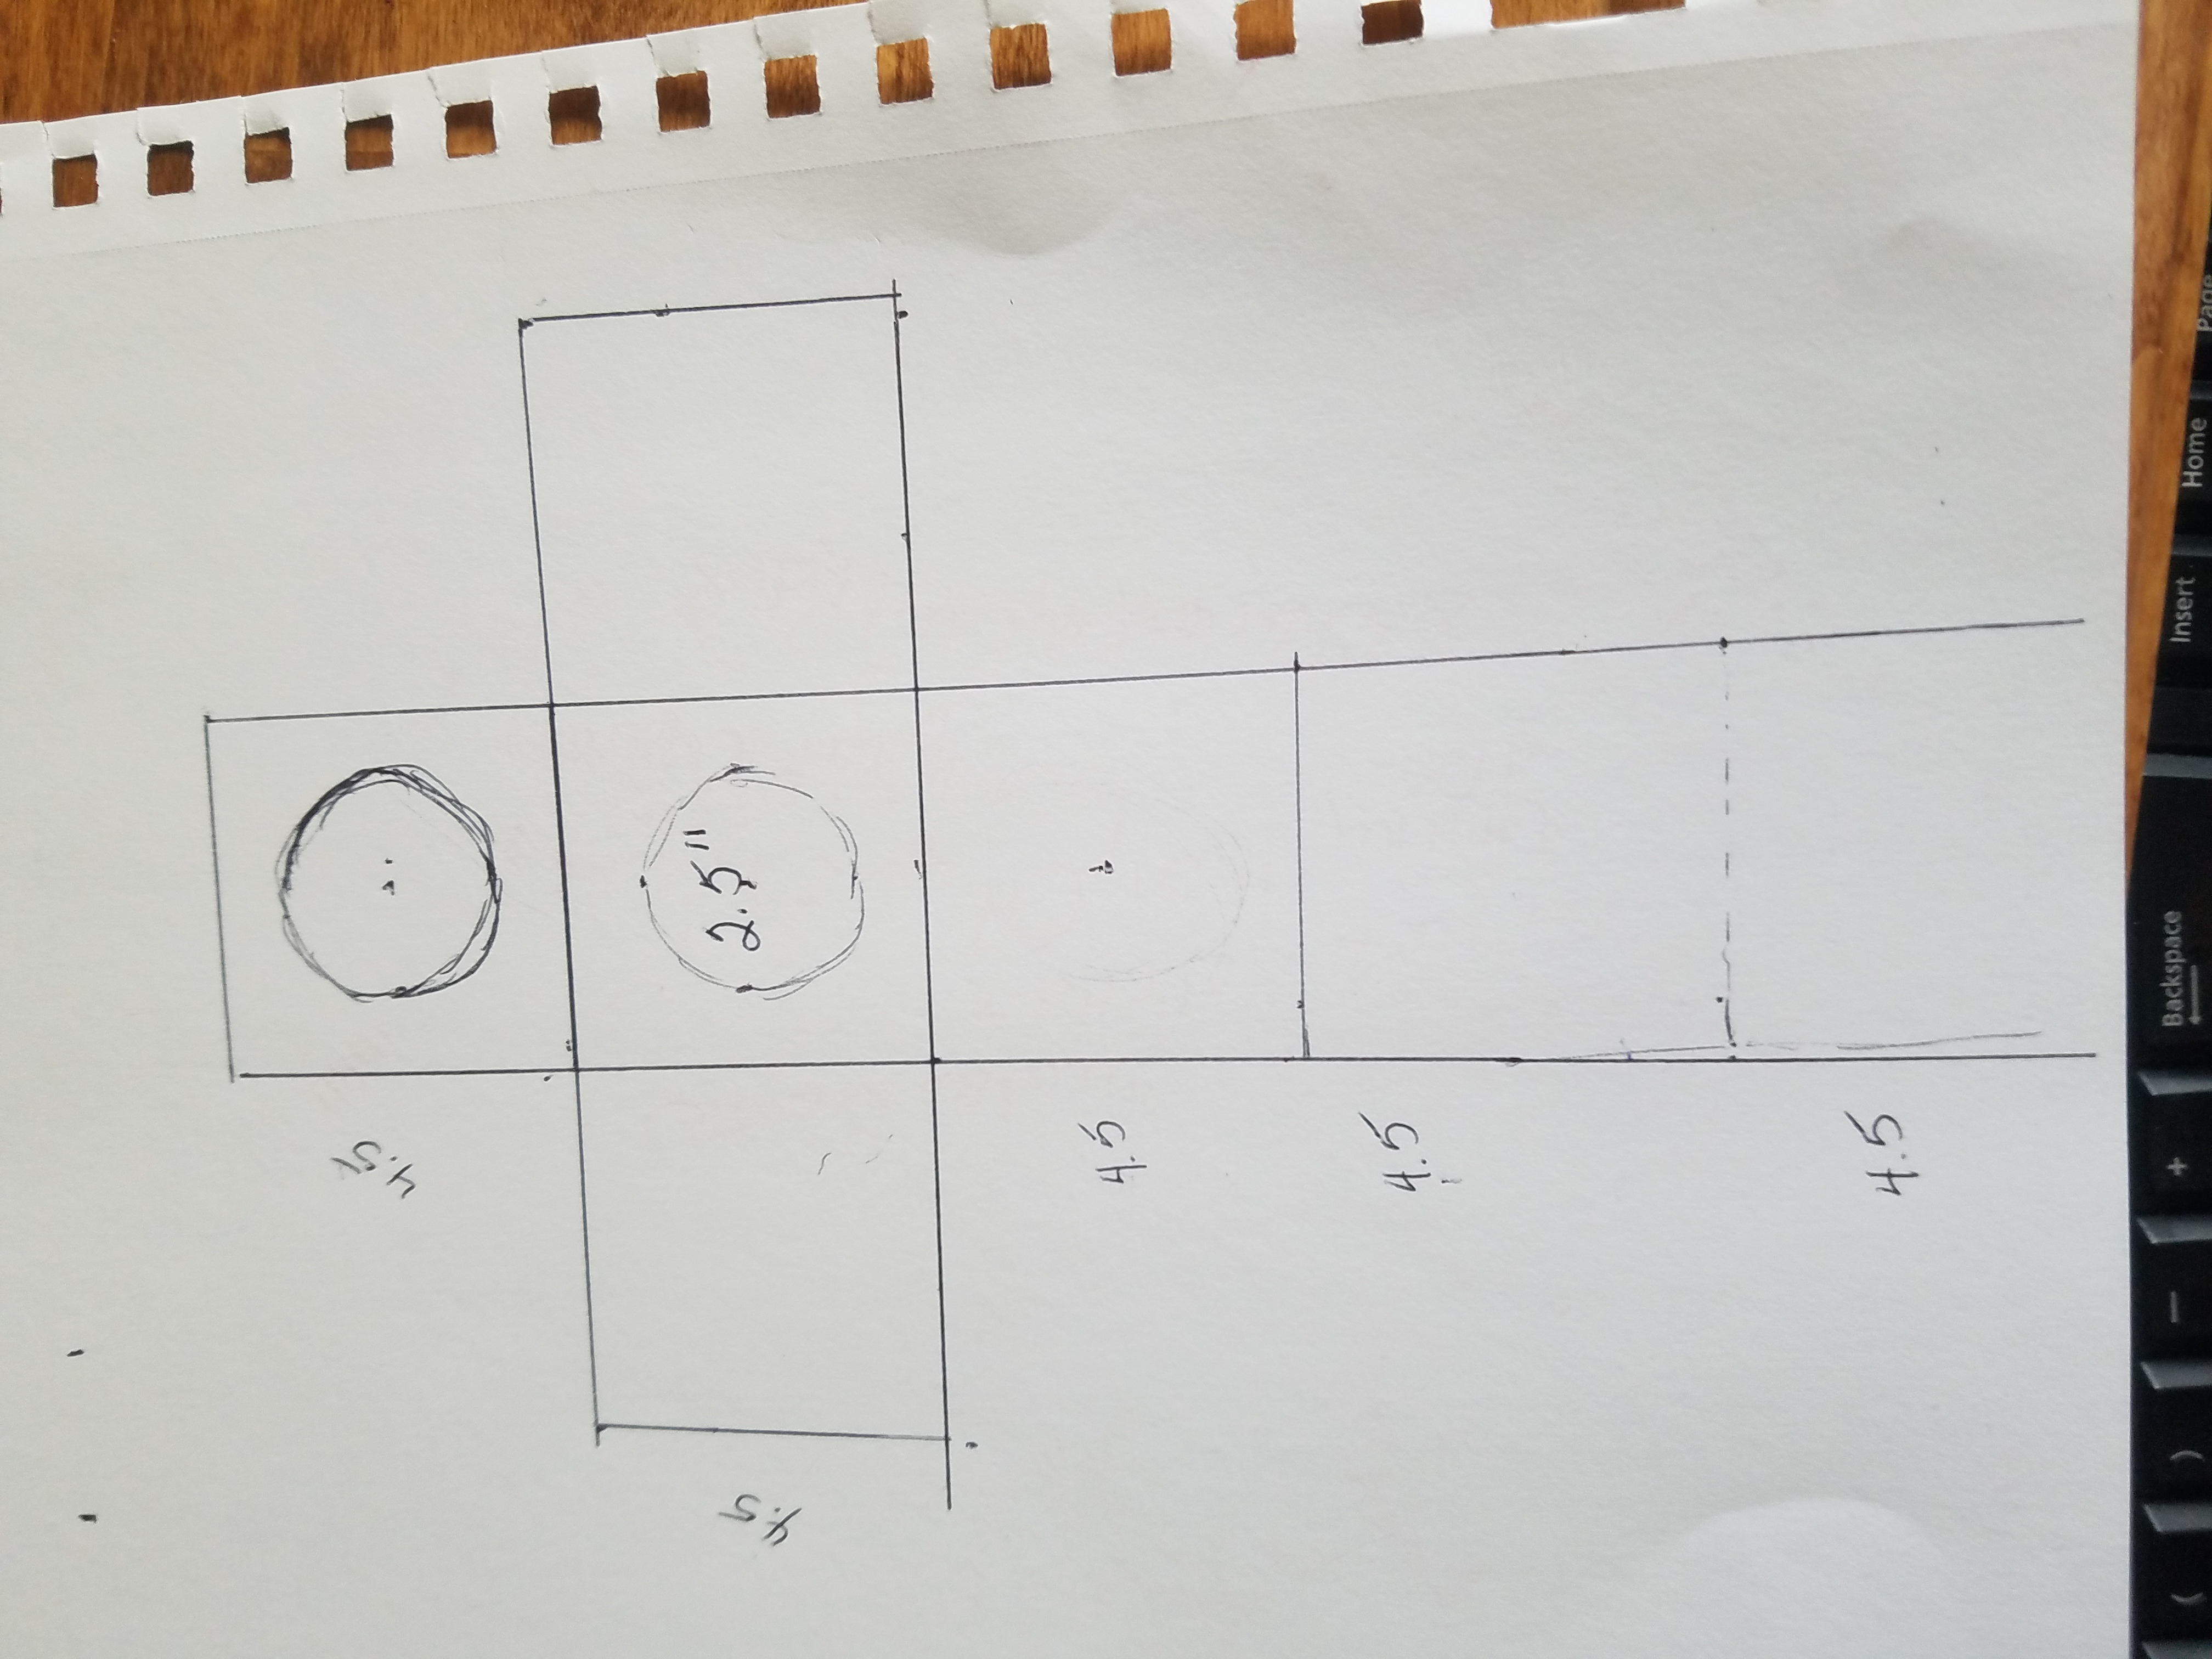
The first layout
The general plan was to
- Rip the board to 4 1/2” (this seemed to fit the votive holders about right)
- Make the cross bar from 3, 4 1/2” squares (13 1/2” total)
- Make the vertical from 5, 4 1/2” squares (22 1/2” total)
- I dado’ed the pieces (a bit too deeply) so they would fit together
In the end, this did not look quite balanced. The cross piece seemed stubby and the top pieces (above the cross piece) was too short.
Comparing perspective.
After some puzzling, we decided to add 1” to each end of the cross piece and 1” to the piece above the cross piece. This made the cross piece 4 1/2” x 15 1/2” and the upright 4 1/2” by 24 1/2”. The top of the cross piece was left at 4 1/2”. I cut new pieces and redid the dado (this time getting it the right depth.)
In the following videos, I grooved the board with a circular saw, then cleaned the dado with a router and a stiff putty knife (bought chisels later). It was a matter of using the tools I had. A ‘better’ way would be to use the table saw with a dado head, or I could have done it all with chisels. The best tool is the one you already have that will get the job done.
Once the dado’s were cut, I put some wood glue in the dado, and used 4 deck screws from the back side. I was careful to keep the screws towards the outside of the center so they would not interfere with the insert for the votives.

Back side of the joint (after staining).
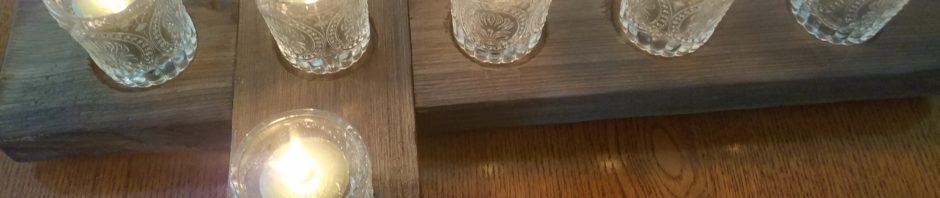
For the votive locations we started by centering them on the beams of the cross. Since the piece above the cross beam was still 4 1/2”, we used 4 1/2” for all the vertical and horizontal spacing. Once the centers of the holes were marked, I used a 5/8” Forstner bit to make an initial hole 3/8” deep. We did not need the votive inserts to be snug fitting. I used a 2 5/8” hole saw to mark the outline of the hole for the router. I just eyeballed the depth. I was concerned about the router splintering the cedar or “running away” as I tried to cut the hole. The hole saw did snag the wood a bit and left a somewhat rough edge, but this was ok with the overall look and feel. Once all the holes were outlined, I set the depth on the router and routed out all the holes.
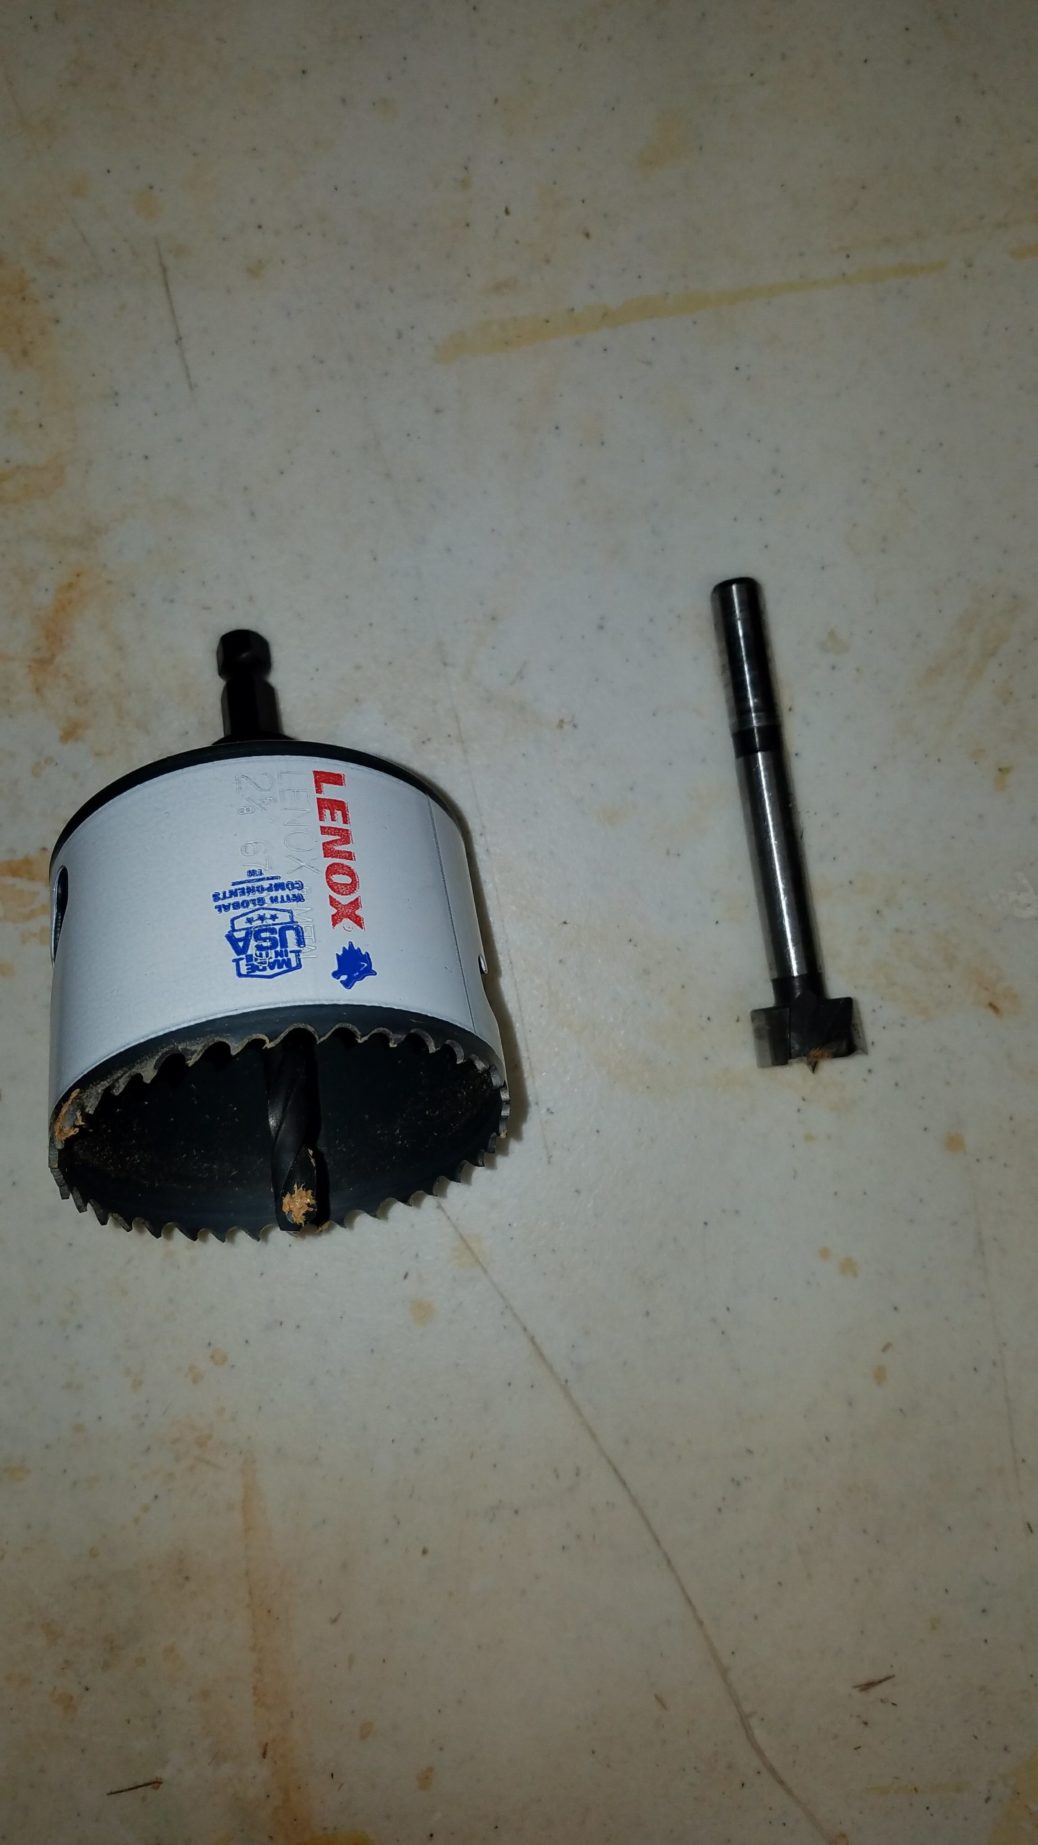
Hole saw on left. Forstner bit on the right.
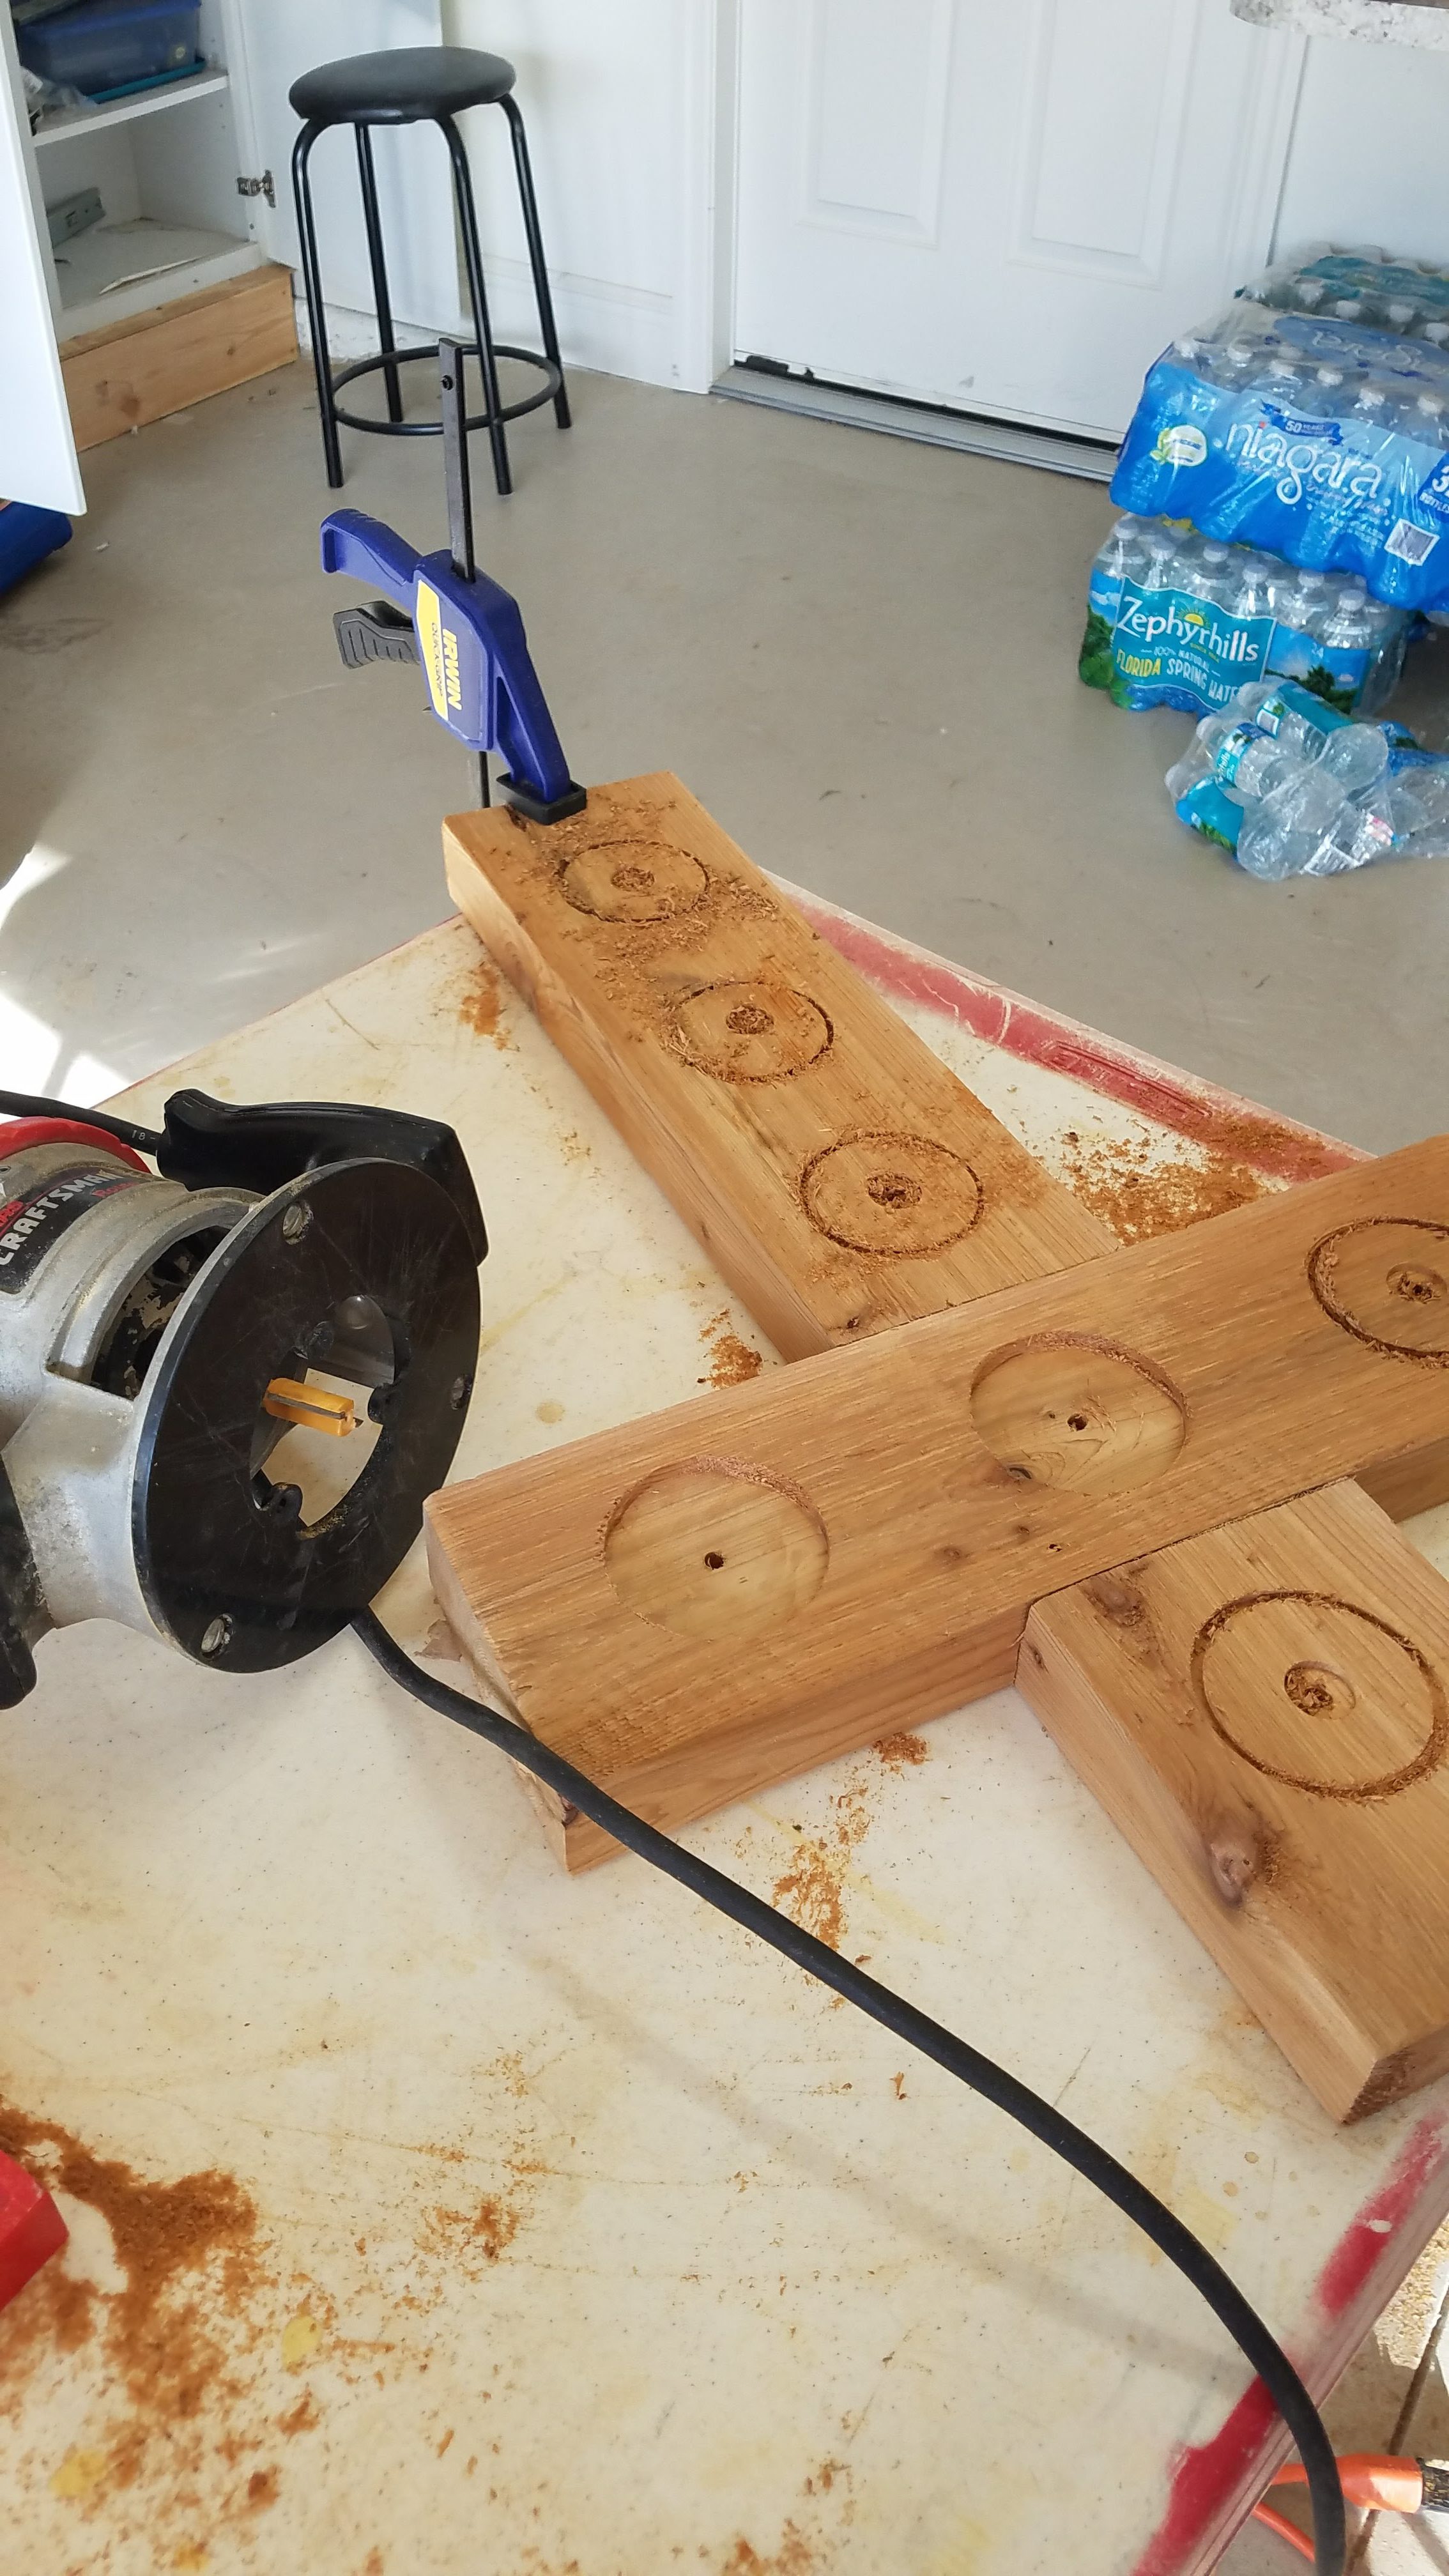
Clamps are required to keep it from spinning.Now it was Christi’s turn for the stain. She used a vinegar and steel wool solution to distress the wood. This took only a few minutes to dry (winter is the dry season in Florida). I added 4 plastic furniture skids to the bottom of the cross and it was all done!
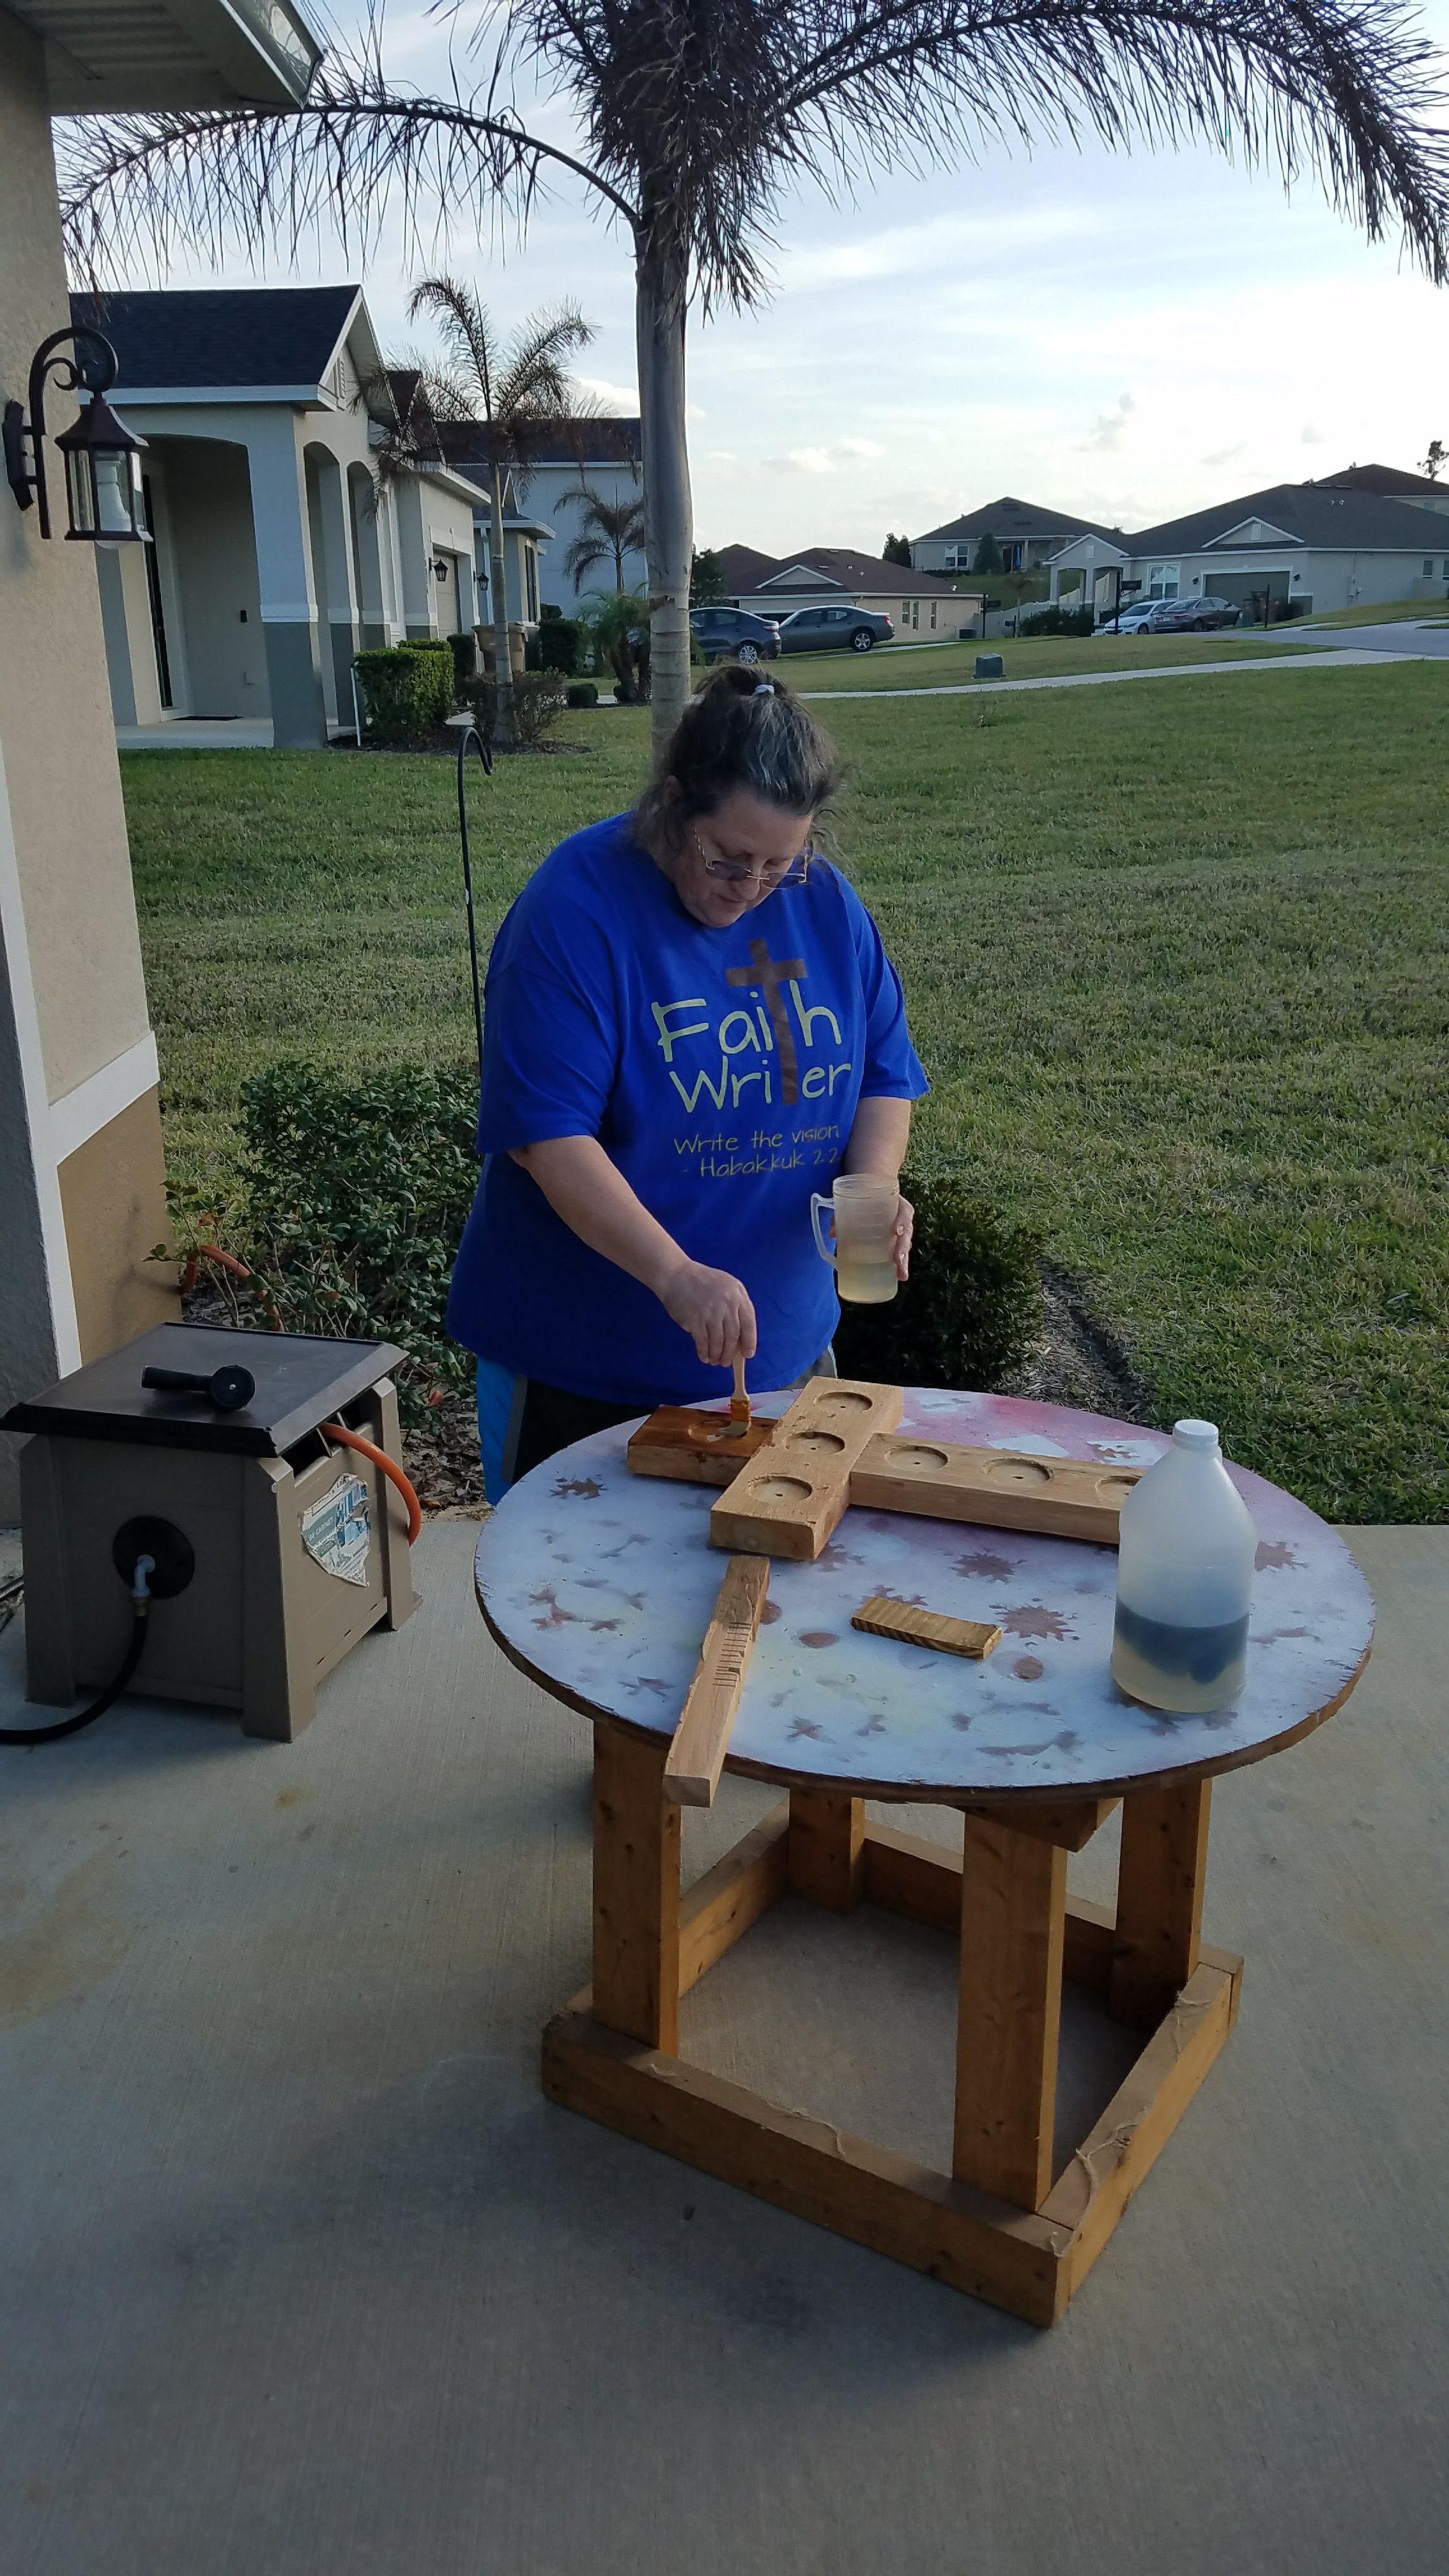
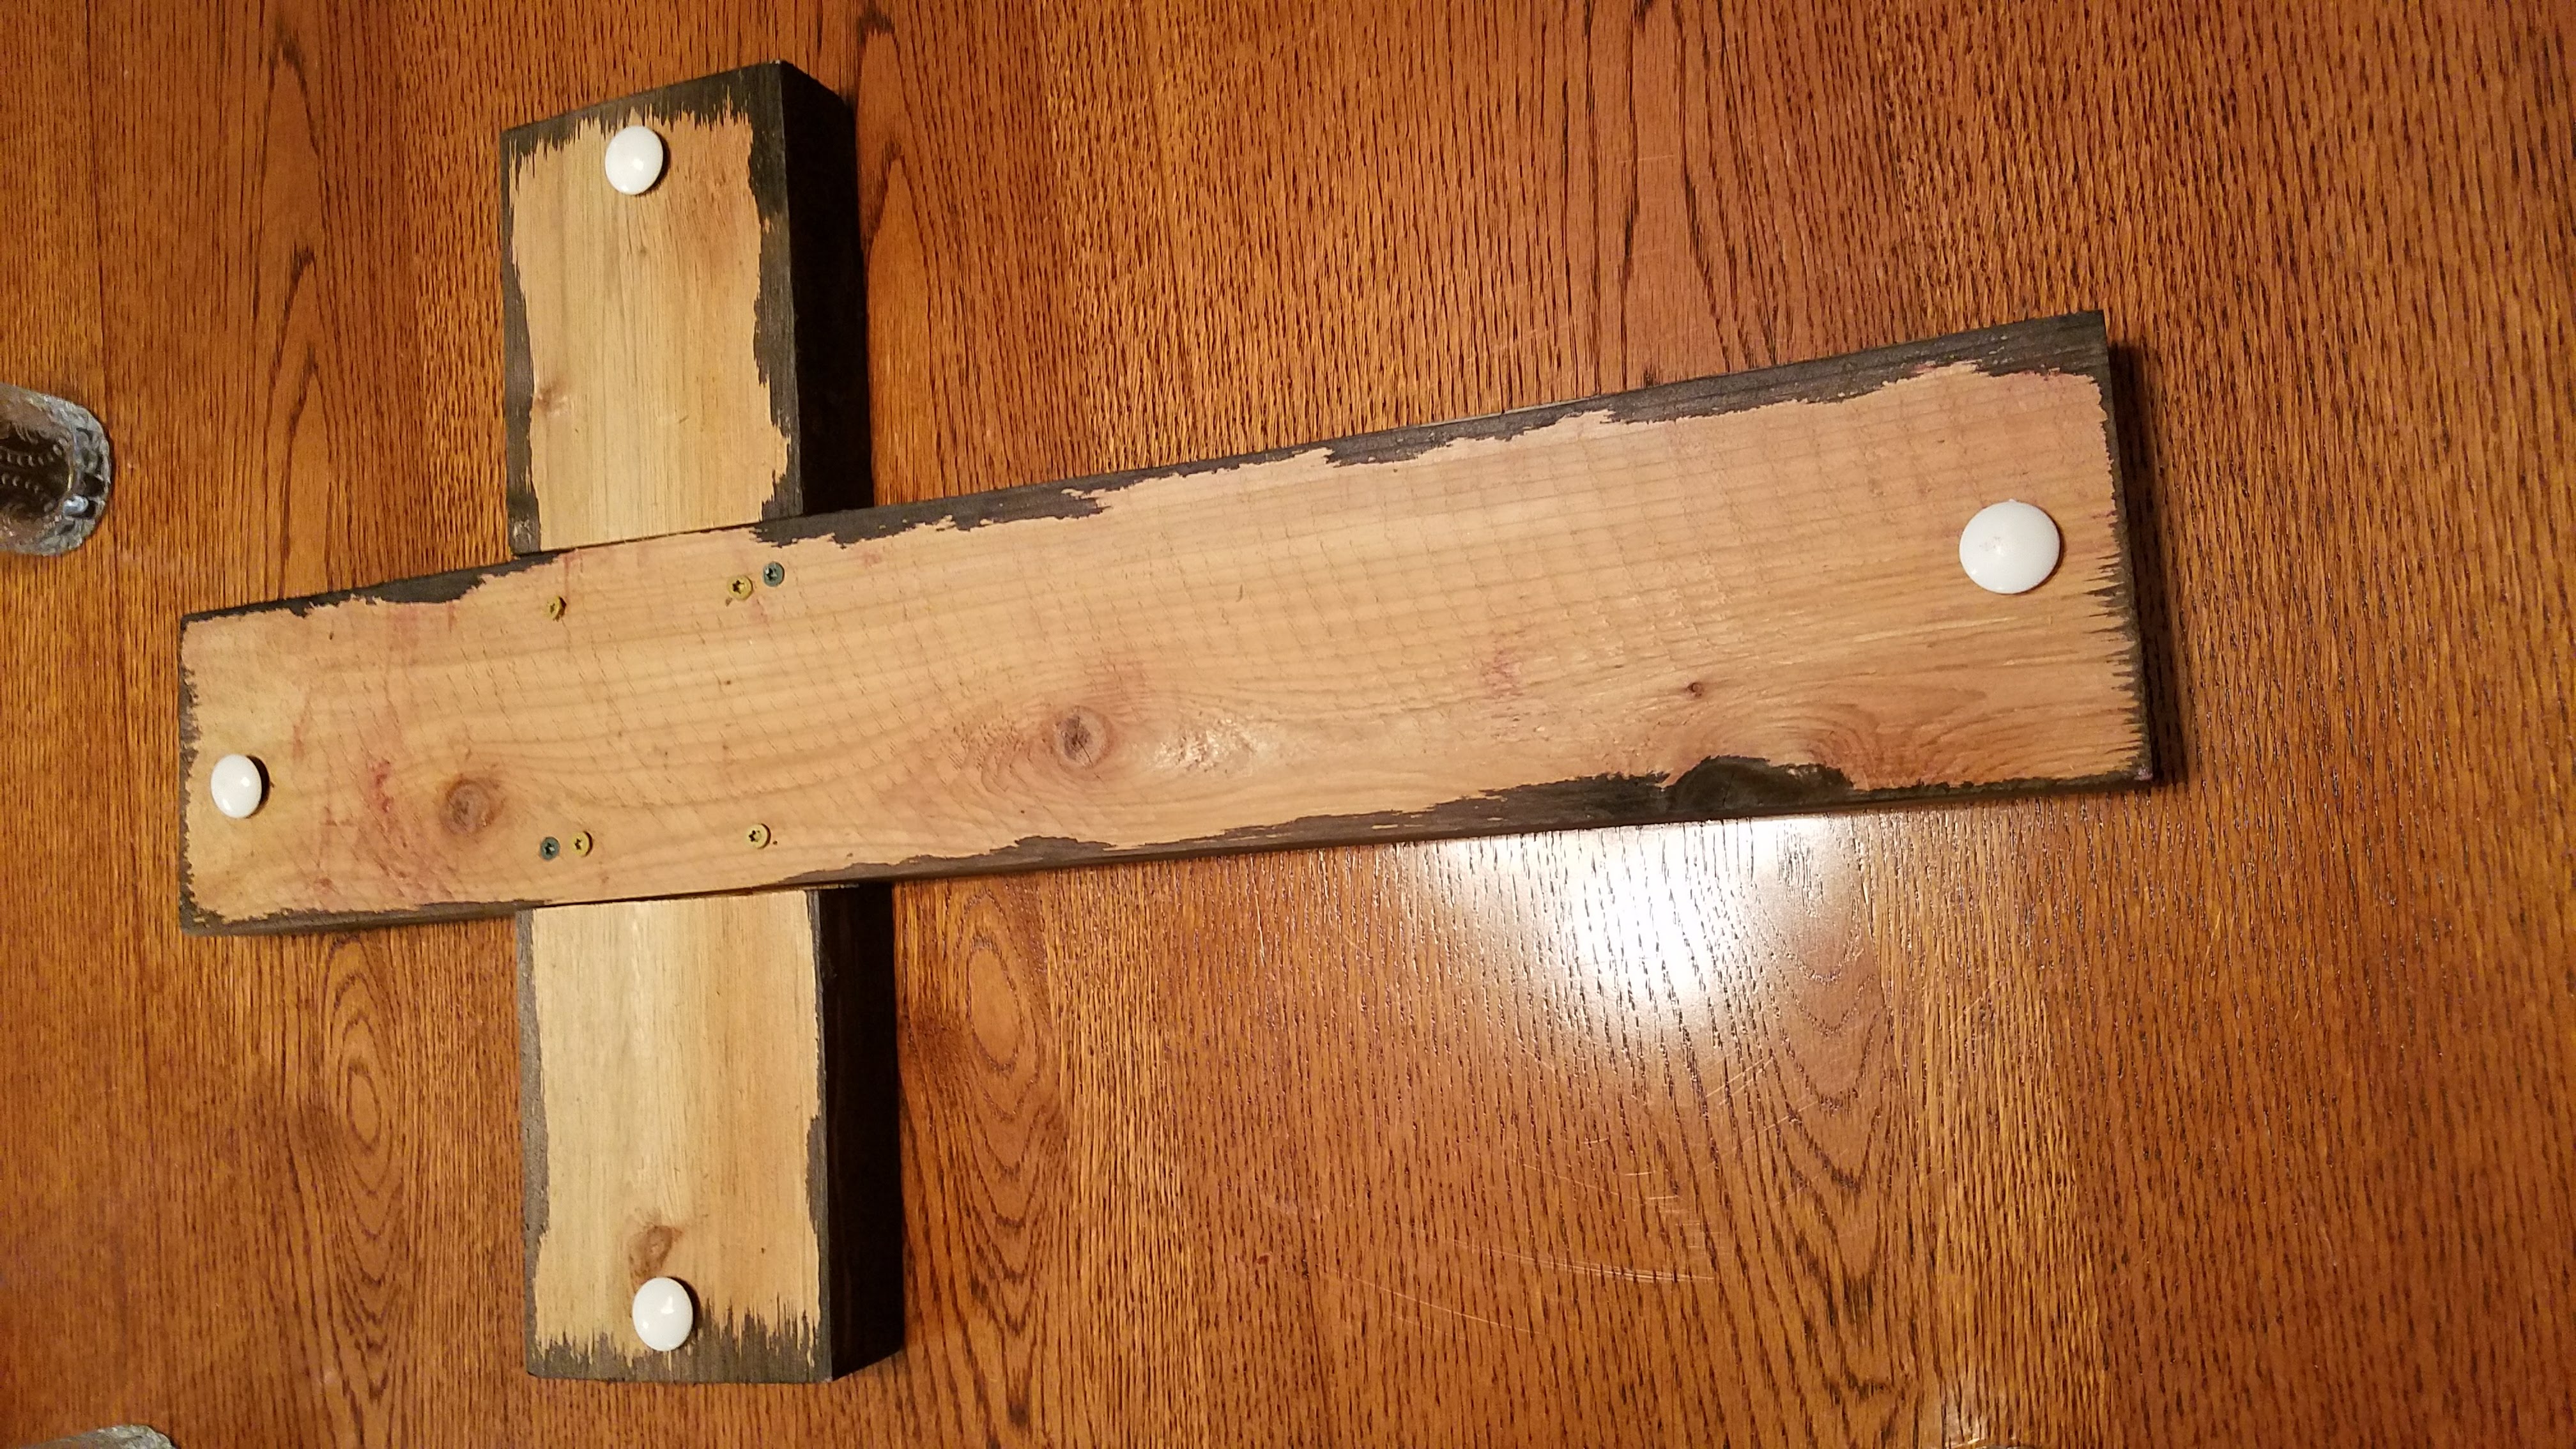
The bleed over on the back side is just the vinegar and steel wool stain. The back is unstained. Christi bought the votive candles and holders on Amazon

Facebook Comments